I am by no means an expert, but here is what I know.
Technical background
Chocolate has a crystal structure that needs to be respected; there are six different crystals in chocolate and each crystal forms at a different temperature. To make sure your chocolate is smooth, shiny, and breaks with a sharp snapping sound you need to make sure you have more of “crystal five” than any other crystal. The way you do this is by tempering the chocolate.
If you don’t temper your chocolate properly it will be streaky, dull in colour and fairly brittle. You may also find you end up with fat bloom or sugar bloom, where the fat and/or sugars separate and rise to the surface. Have you ever left a chocolate bar in your car and have come back to find that it’s melted, re-solidified with a bit of an odd streaky pattern of white swirls? That’s because when the chocolate melted, it came out of its tempered form.
The basics
In the words of Paul A. Young the definition of tempering is “the addition of hardening crystals into melted chocolate”. Essentially you need to fully melt a large amount of chocolate, cool it to a temperature at which lots of lovely crystal fives form, and then bring it back up to a working temperature.
There are a few different ways to temper depending on what resources you have available to you.
The Marble Slab method
 This is by far the most fun, but you do need a marble or granite slab to do this. Firstly you must melt your chocolate, making sure you melt it to its correct melting temperature (see chart below). Really, you shouldn’t use the microwave for this as the microwave melts from the inside out, so it will tend to melt different bits of chocolate at different speeds and you can over melt and burn chocolate REALLY easily. If you have a couple of hours, stick it in an ovenproof bowl and set your oven to the right temperature for the melting point of your chocolate. Make sure you know you’re the actual temperature of your oven though – mine is 10˚C hotter than it say it is and constantly changes (it likes to play games like that). Alternatively, put your chocolate in a heatproof bowl and set it over a saucepan of barely simmering water – the water cannot touch the bottom of the bowl and cannot boil. Make sure you always stir your melting chocolate.
 So, you’ve melted your chocolate; take it over to your marble slab and pour about two thirds to three quarters of it out on to the slab. Using a large palette knife, spread the chocolate out as far and as thinly as you can. Next, use a metal scraper (you can hit up a DIY store for one of these) and quickly scrape the chocolate back into a puddle in the middle of the slab. When doing this, use the palette knife to scrape the chocolate off your scraper each time you bring it back into the centre. Work your way all the way round until you’re back to having a puddle of chocolate in the middle. Repeat the spreading and scraping until the chocolate reaches the right crystalising temperature (again, see chart below).
Now scrape the chocolate off your slab and back into the bowl with the rest of your melted chocolate – at this point you really are adding hardening crystals into melted chocolate. Keep stirring until your chocolate reaches the right working temperature, and voila – you should have tempered chocolate, but make sure you test it as described below.
The Seeding method
 This is a much easier and cleaner way to temper chocolate, especially if you are working with smaller amounts of chocolate. However, it does take a little longer.
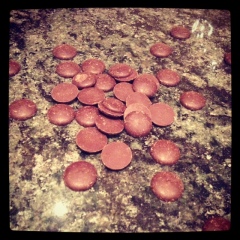
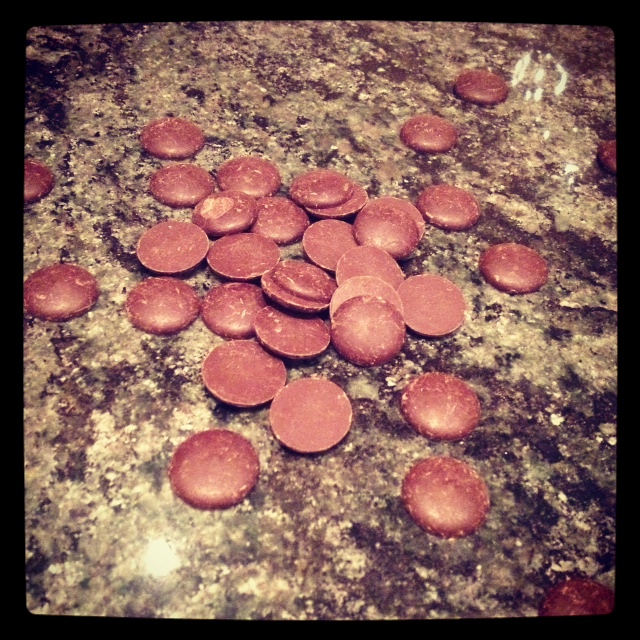
Weigh out your chocolate and break it up into small pieces, but this time you want to separate about 2 thirds to 3 quarters of it BEFORE you melt it. Put the smaller portion of chocolate to one side and put the larger portion into a heatproof bowl and melt it to the correct melting temperature.
Once the chocolate has fully melted, take it off the heat and place it on a towel on the work surface. Be super careful that you don’t get any water droplets in the chocolate and will cause it to seize (water is not friends with chocolate). Stir in the solid chocolate you’d put to one side and keep stirring until it reaches the right crystalising temperature. With this method, you’re using the colder solid chocolate to bring the melted chocolate back down to its crystalising temperature. This is the bit that can take a while though – personal experience has told me 30-40 minutes. When the chocolate reaches the right crystalising temperature, place it back on the heat and slowly bring it back up to its working temperature.
Is it tempered yet?
To test if it is tempered, dip a clean palette knife or spoon into the melted chocolate and leave it to one side for a few minutes. If your chocolate is starting to look smooth and glossy within a couple of minutes and is brittle when fully set, then you have tempered chocolate. Whilst testing – make sure you keep stirring the chocolate to make sure it doesn’t cool down too much.
Dip a clean spoon into the chocolate and place it on your lip – if it’s tempered it shouldn’t feel warm and it shouldn’t feel cold.
The temperatures
The temperatures you need to work to differ depending on the type of chocolate you’re working with:
|
Chocolate
|
Melting temp
|
Crystalising temp
|
Working temp
|
| White |
50˚ C
|
26-27˚ C
|
29-30˚ C
|
| Milk |
50 – 55˚ C
|
26-27˚ C
|
29-co˚ C
|
| Dark |
55˚ C
|
27-28˚ C
|
31-32˚ C
|
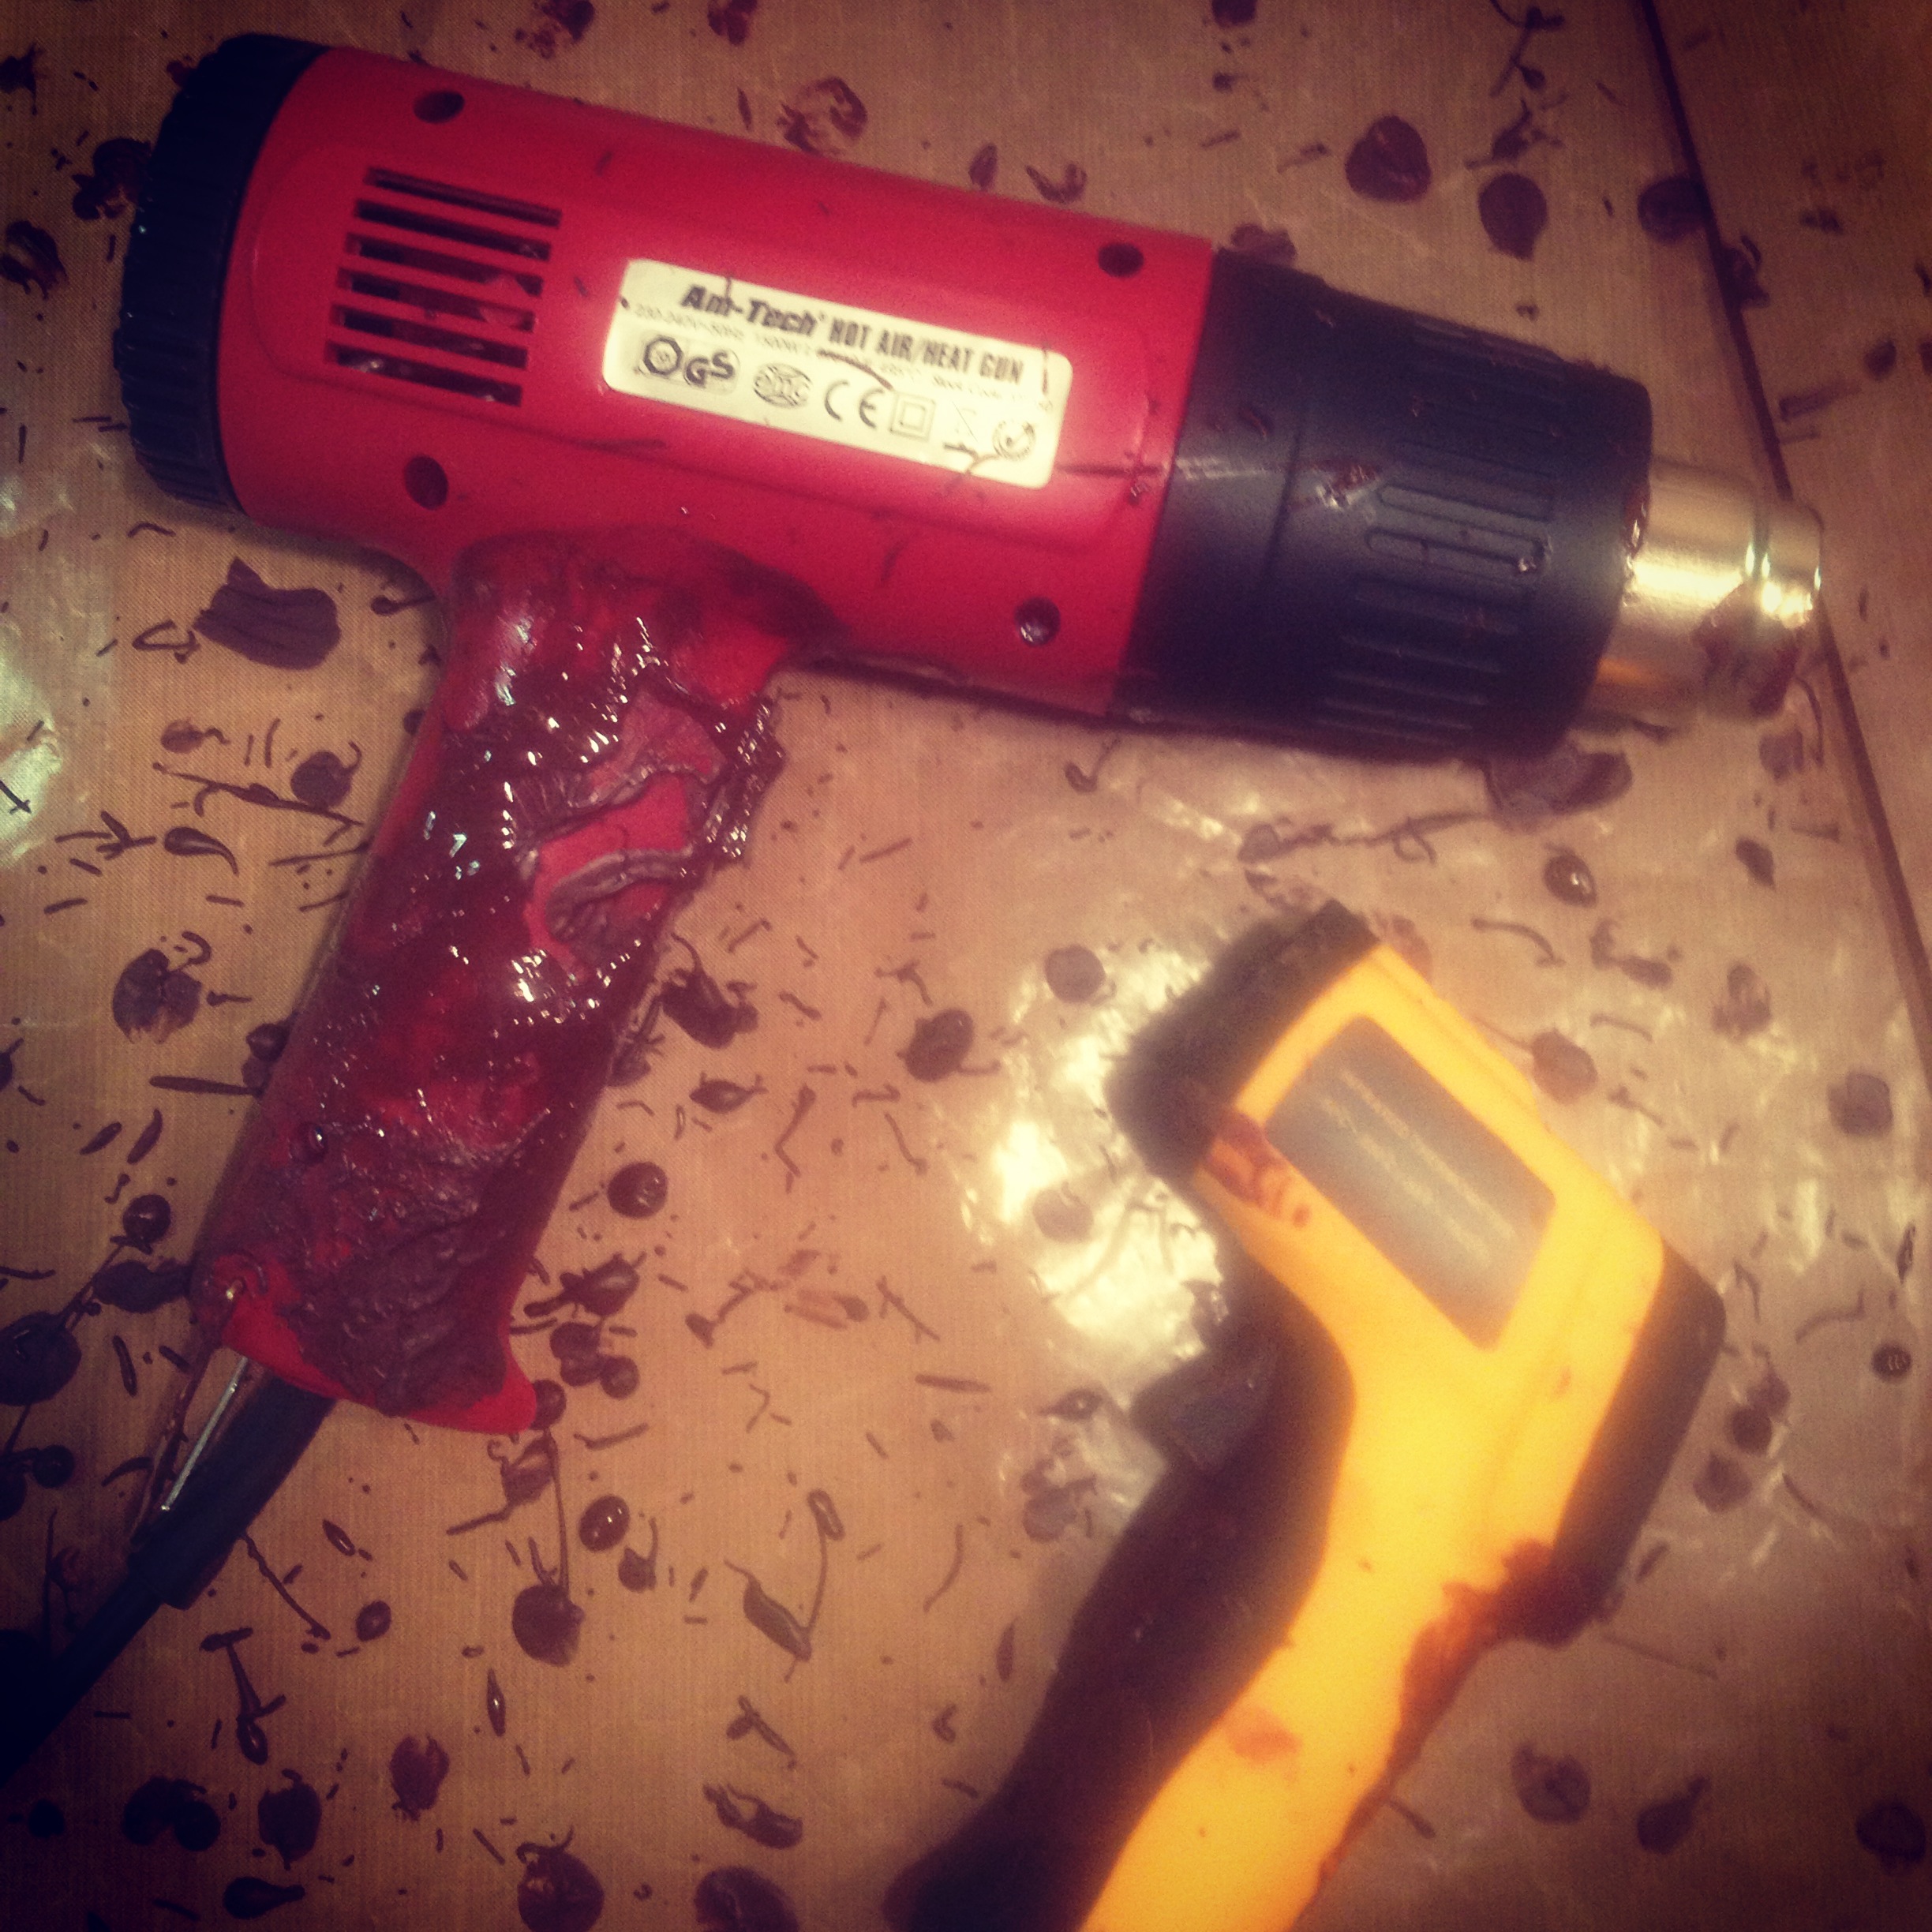
I got myself a pretty cool infrared thermometer gun to test my temperatures – it’s so much fun!
Tempering – some considerations
 The larger the quantity of chocolate you’re tempering, the easier.
Clean up as you go; chocolate is a PAIN to clean up and it is much easier done whilst it’s still melted. Whatever you do though, don’t get rid of the chocolate you’ve got left on the marble slab, scrape it up and put it to one side as it can be melted down and tempered again. Chocolate can be re-tempered four or so times, so there should be little wastage.
Keep your chocolate warm; if you let your tempered chocolate cool too much then it will stop being tempered. Stir frequently, or you can use a hairdryer/heat gun.
Importantly – have fun!

 It can generally be taken as read that I’m busy. All of the time. And then also all of the times in between. If you took the time to read I love cake firstly, THANKS, secondly, you should know that as much as I’d like it to be, baking/cooking/kitchen experimenting is not my full time job. You know I work in the big bad corporate world, but what exactly do I do? Now that would be telling. What I can tell you though is that it is finance related. See, you’re bored already!
 So why tell you all of this all over again? Well, I write when I can. I love writing, and apparently I’m not half bad at it, but I write when I have a spare moment and am not comatose. More often than not, there is something caffeinated near by which is obviously positioned next to the cake. The only reason I’m writing this is because I have a spare couple of hours on a train and the girl next to me had the audacity to wake me up 10 whole minutes before her stop (she had the aisle seat, but whatevs) perhaps she wanted a hug goodbye? What can I say; I’m awful at goodbyes.
 Lengthy train journeys, however, are rare. I have a ton of exciting ideas planned for experiments, projects and posts, but you may have to bear with me while I write them up. What I can tell you though is that it will involve vodka, gin, cinchona bark, chocolate, cake, games with new toys, and some fun with icing – not necessarily all at once or in that order.


 Life bas been busy. Busy, busy busy. Not only is it the middle of busy season at work (they don’t call it that for nothing) I also decided it was a good time of year to move house. Well thought out plan huh?


